Podcast Equipment Guide for Beginners: Mics, Cameras and Lighting (2026)
Starting a podcast is easier than ever. Buying the right podcast equipment is not. Search “best podcast microphone” and you will find hundreds of lists, most of them pushing gear a beginner does not need.
This guide cuts through that. It covers the podcast equipment beginners actually need in 2026 – microphones, cameras, lighting and audio gear – what each piece does, and where it is worth spending money. It is based on how we set up video content and podcasts for founders and brands at StudioYT in Dubai.
Quick answer: The essential podcast equipment for beginners is a dynamic USB or USB/XLR microphone, closed-back headphones, a boom arm, a camera or smartphone that records at least 1080p, one soft LED key light and a quiet, furnished room. Add an audio interface or podcast recorder only when you have two or more people on mic.
Podcast Equipment Starter Kits: Three Levels
You do not need to buy everything at once. Pick the level that matches your goals today and upgrade one piece at a time.
| Gear | Level 1: Starter (solo) | Level 2: Creator (1–2 people) | Level 3: Studio (2–4 people) |
|---|---|---|---|
| Microphone | 1 USB/XLR dynamic mic, e.g. Samson Q2U or Audio-Technica ATR2100x-USB | 1–2 dynamic mics, e.g. Shure MV7+ or RØDE PodMic | 1 broadcast dynamic mic per person, e.g. Shure SM7B or Electro-Voice RE320 |
| Audio interface / recorder | Not needed (USB) | 2-input interface, e.g. Focusrite Scarlett 2i2 | Podcast console, e.g. RØDECaster Pro II or Zoom PodTrak P4/P8 |
| Camera | Smartphone or a 4K webcam | 1–2 mirrorless cameras, e.g. Sony ZV-E10 II | 3 cameras: one wide, one close-up per speaker |
| Lighting | 1 LED panel with a diffuser | Key light + fill light | Key, fill and backlight per speaker, plus practical lamps |
| Headphones | Closed-back headphones | Closed-back headphones per person | Closed-back headphones per person + headphone amp |
| Extras | Boom arm, foam windscreen | Boom arms, tripods, pop filters | Boom arms, acoustic panels, SD cards, a branded backdrop |
Models are examples, not the only options. Always check current prices and availability in your market before buying.
Podcast Microphones: The Most Important Purchase
Your microphone matters more than any other piece of gear. Most beginners should start with a dynamic microphone, not a condenser.
Dynamic vs condenser microphones
- Dynamic microphones pick up sound mainly from right in front of them. They reject room echo, AC noise and background sound, so they sound good in normal rooms. This is the right choice for almost every beginner.
- Condenser microphones capture more detail but also pick up everything else in the room: echo, traffic and keyboard clicks. They only sound great in an acoustically treated room.
USB vs XLR
- USB microphones plug straight into a laptop. They are simple and affordable, and ideal for solo shows.
- XLR microphones need an audio interface or recorder, but give better sound, more control and let you record several people on separate tracks.
- USB/XLR hybrid microphones do both. They are the smartest first buy because you can start on USB and move to an interface later without replacing the mic.
Recommended microphones for beginners
| Microphone | Type | Connection | Best for |
|---|---|---|---|
| Samson Q2U | Dynamic | USB + XLR | Tight budgets and first-time podcasters |
| Audio-Technica ATR2100x-USB | Dynamic | USB + XLR | Beginners who plan to upgrade later |
| RØDE PodMic | Dynamic | XLR | A broadcast look and sound on a modest budget |
| Shure MV7+ | Dynamic | USB + XLR | Solo creators who want pro sound with simple setup |
| Shure SM7B | Dynamic | XLR | Studio setups with a strong interface or console |
| Electro-Voice RE320 | Dynamic | XLR | Pro studios and multi-guest shows |
What about wireless lavalier mics? Clip-on wireless mics such as the DJI Mic or RØDE Wireless GO are great for walking interviews and on-location shoots. For seated, studio-style podcasts, a dynamic mic on a boom arm sounds fuller and more professional.
Mic technique matters as much as the mic. Keep the mic 5–10 cm from your mouth, slightly off-axis, and give every speaker their own mic. Even an expensive mic sounds poor from across a table.
Podcast Cameras: What You Actually Need
For a video podcast, the camera you already own is often enough to start. What matters most is stable framing, good light and a camera that can record long sessions without overheating or stopping.
Your camera options
| Option | Examples | Pros | Watch out for |
|---|---|---|---|
| Smartphone | Recent iPhone or Android flagship | Already in your pocket, great 4K quality | Storage, battery and heat on long recordings |
| Webcam | Logitech C922 or Brio, OBSBOT Tiny 2 | Cheap, plug-and-play, good for remote shows | Small sensor, weaker image in low light |
| Compact vlog camera | DJI Osmo Pocket 3 | Small, stable, strong image | Limited for multi-camera studio setups |
| Mirrorless camera | Sony ZV-E10 II, Nikon Z30, Sony ZV-E1 | Blurred backgrounds, interchangeable lenses, pro look | Needs a lens, power adapter and setup time |
| Cinema camera | Sony FX30 | Built for long recordings and pro colour | Overkill for most beginners |
What to look for in a podcast camera
- Unlimited or long recording time and a power adapter (dummy battery), so the camera never stops mid-episode.
- Clean HDMI output if you want to record or switch cameras through a console or capture card.
- Reliable face-tracking autofocus, so you stay sharp when you lean forward.
- A flip screen for solo hosts who need to check framing.
- At least 1080p, ideally 4K. 4K lets you crop one wide shot into vertical clips for Reels and Shorts.
How many cameras?
One camera works for solo shows. For two people, use one wide shot plus one close-up per person – that is three angles, and it makes editing far more engaging. Frame every shot with space above the head so it can be cropped to 9:16 for short-form clips. Here is how to turn one podcast episode into 30+ pieces of content.
Podcast Lighting: The Cheapest Upgrade With the Biggest Impact
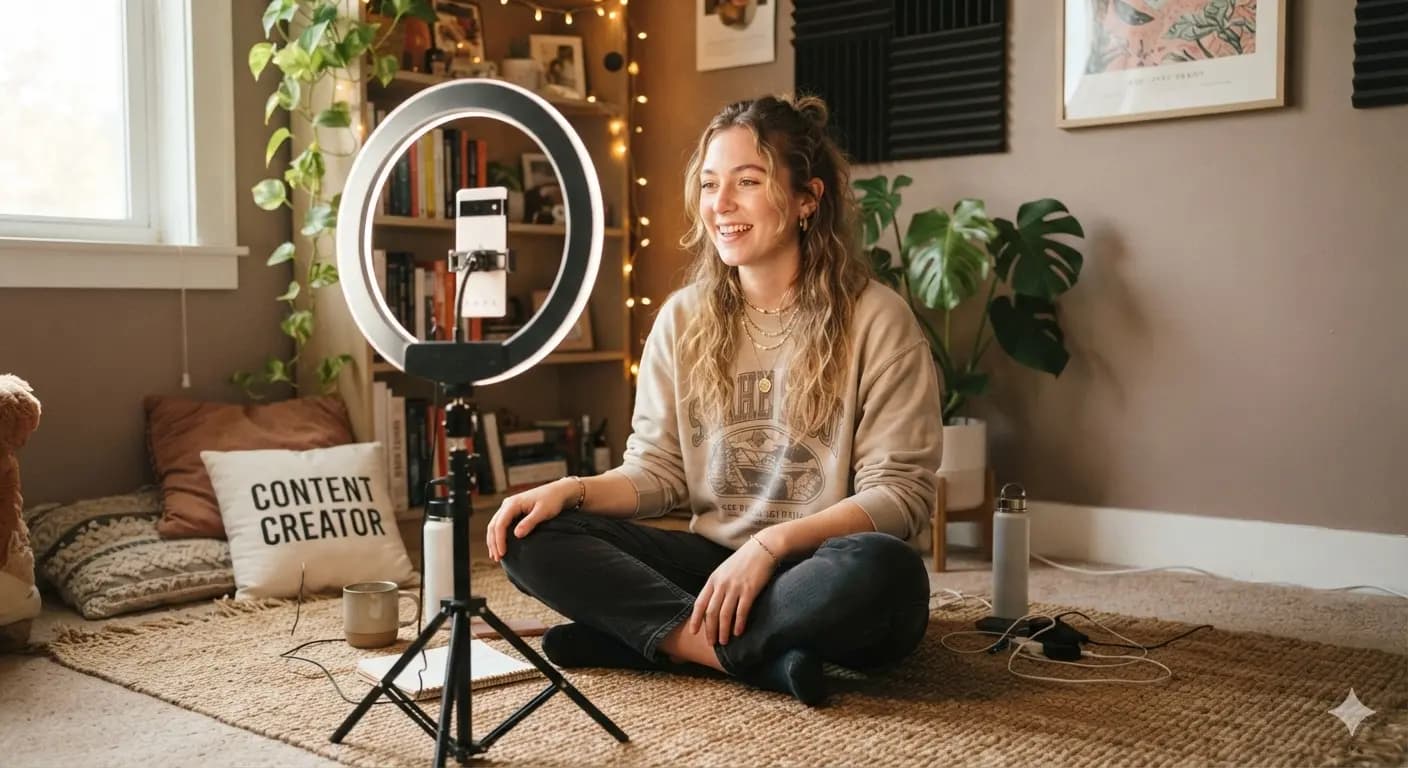
Good lighting makes an average camera look expensive. Bad lighting makes an expensive camera look cheap. One soft light placed correctly is the biggest visual upgrade a beginner can make.
The three-point lighting setup
- Key light: your main light, placed 45 degrees to one side of your face and slightly above eye level. Use a softbox or diffuser so the light is soft, not harsh.
- Fill light: a weaker light on the other side that softens shadows. A white wall or reflector can work at the start.
- Backlight (rim light): a small light behind you that separates you from the background and adds depth.
Start with just a key light. Add fill and backlight as you upgrade.
What to buy
- LED panel or softbox light with adjustable brightness and colour temperature. Popular brands include Elgato, Aputure (amaran) and Godox.
- Light stands or desk mounts that let you position the light above eye level.
- Practical lights – a lamp, an LED strip or a neon sign in the background – to add mood and brand colour.
Lighting tips
- Never rely on overhead ceiling lights alone. They create dark eye shadows.
- Do not sit with a bright window behind you. Face the window or block it.
- Set every light to the same colour temperature (around 5,600K for daylight) so skin tones look natural.
- Use your brand colour in the background, not on your face.
Audio Interfaces, Podcast Recorders and Accessories
You only need an audio interface or recorder if you use XLR microphones or record more than one person in the same room.
| Device | Inputs | Best for |
|---|---|---|
| Focusrite Scarlett Solo / 2i2 (4th Gen) | 1–2 XLR | Solo hosts or two people recording into a computer |
| Zoom PodTrak P4 / P4next | 4 XLR | Budget multi-person shows; battery powered and records to SD card |
| Zoom PodTrak P8 | 6 XLR | Larger in-person panels and on-location recording |
| RØDECaster Duo | 2 XLR | Two-person studios that want onboard processing |
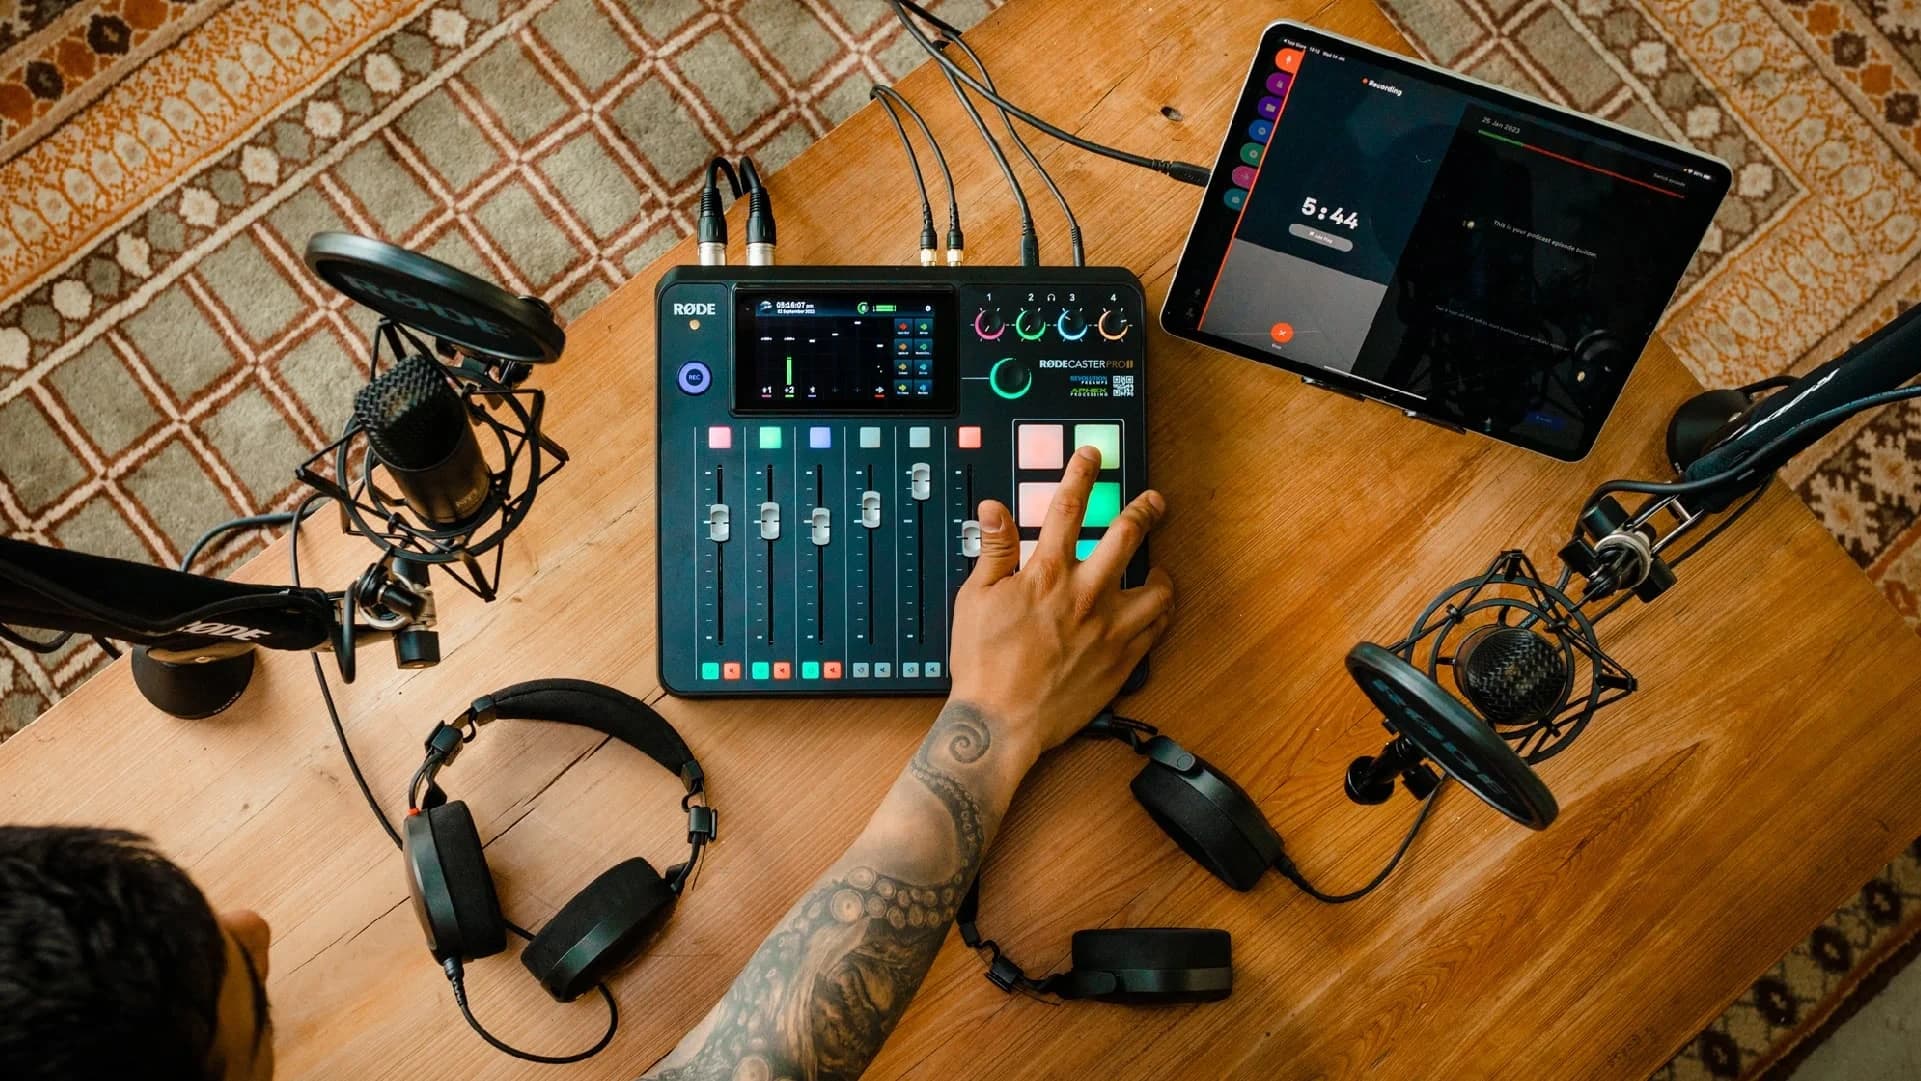
| RØDECaster Pro II | 4 XLR | Studio-grade audio, sound pads and remote-guest mix-minus |
For podcasts, record each person on a separate track. It lets your editor fix one speaker’s volume or noise without affecting the others.
Accessories beginners forget
- Closed-back headphones for every speaker, so you hear problems while recording, not after.
- Boom arms to keep mics at the right distance and out of the camera’s way.
- Pop filters or foam windscreens to stop harsh “p” and “b” sounds.
- Fast, high-capacity SD cards and spare batteries or power adapters for every camera.
- Quality XLR, USB-C and HDMI cables – a cheap cable can ruin a full recording.
- Backup recording: record audio on the console and the camera at the same time, so one failure never loses an episode.
Room Setup and Acoustics
Your room affects your sound as much as your microphone. An empty room with bare walls creates echo that no mic can fix.
- Choose a furnished room. Sofas, rugs, curtains and bookshelves absorb and break up echo.
- Add soft surfaces. A rug on the floor and thick curtains make a big difference before you buy any acoustic panels.
- Use acoustic panels behind and beside the speakers once you are ready to upgrade. Place them at mouth height, not near the ceiling.
- Control noise. Turn off fans and noisy appliances, close windows and silence phones. In places like Dubai, switch the AC off during takes if it is noisy, or record in a room with a quiet unit.
- Design the background. Keep it tidy and add depth: a plant, shelves, a lamp and your logo or brand colour. It should look like your brand, not your storeroom.
Not ready to build a studio? Renting a professional podcast studio is often cheaper than buying a full multi-camera setup, and you get trained crew, treated acoustics and ready lighting from day one.
7 Podcast Equipment Mistakes Beginners Make
- Buying a condenser mic for an untreated room. It records the echo along with your voice. Choose a dynamic mic.
- Spending on the camera before the microphone. Viewers leave over bad sound much faster than over average video.
- Sharing one mic between two people. Every speaker needs their own mic and their own track.
- Skipping headphones. Without them, you only discover noise, clipping or a dead mic after the recording.
- Relying on room lights. One soft key light beats any ceiling light.
- Ignoring recording limits. Cameras that overheat or stop after 30 minutes can ruin a long interview. Test a full-length recording first.
- Buying the “pro” kit on day one. Start simple, publish consistently and upgrade based on what actually limits you.
Skip the Setup: Record at StudioYT in Dubai
Buying, testing and running podcast equipment takes time most founders do not have. At StudioYT, we handle the full setup for you. Our podcast production studio in Dubai at Business Village comes ready with multi-camera recording, broadcast microphones, professional lighting and a trained crew.
We follow Y Theory – Purpose Before Production – so we start with your goals and audience before choosing a single piece of gear. After the recording, our team handles editing, short-form clips and distribution.
Want a professional podcast without building a studio? Book a free consultation with StudioYT.
Conclusion
The best podcast equipment for beginners is not the most expensive. It is a good dynamic microphone, a stable camera, one soft light, headphones and a quiet room. Start there, focus on great conversations and upgrade as your show grows.